Search This Blog

Showing posts with label Dessert. Show all posts

Tuesday, 26 April 2011

Prince William's Chocolate Biscuit Cake

Who wouldn't want the recipe for a scrumptious chocolatey dessert, and this one is not just any chocolatey dessert, but Chocolate Biscuit Cake that will be served at William and Kate's wedding on Friday.   


My father found the recipe for Prince William's favourite cake in the Toronto Star newspaper and offered to make it for our Easter dinner.  So with a new springform pan and some assistance from my Mother in melting chocolate, he made this delicious Chocolate Biscuit Cake.


According to the article, the Queen would request that the chef make Chocolate Biscuit Cake when William was visiting from Eton.  Since Prince William is having it as his groom's cake for the royal wedding on Friday I'm posting the recipe ahead of time so you will have a few days to find the ingredients to make your own cake to enjoy while watching the wedding.


The main ingredient in the recipe is McVitie's Rich Tea Biscuits so this cake is more like a thick chocolate cookie than a true cake.  The McVitie's Cake Co. has been asked to make the cake for the royal wedding.  My Dad said that they were not able to find these exact biscuits so he substituted Christie's Social Tea Biscuits, but really any plain tea biscuit would work as long as you keep the quantity the same.


Ingredients:
4 tbsp (60 ml) unsalted butter, at room temperature
1/2 cup (125 ml) granulated sugar
4 oz (11o g) dark chocolate, chopped
1 large egg, beaten
8 oz (225 g) McVitie's Rich Tea Biscuits, about 28 biscuits broken into almond-sized pieces
8 oz (225 g) dark chocolate, chopped - for the icing


Method:
1. Line bottom of 7-inch (18 cm) springform pan with parchment paper and butter sides of the pan.
2. Cream butter and sugar until fluffy using electric mixer on medium setting.
3. In double boiler melt 4 oz chocolate.
4.  Stir in butter mixture.
5.  Stir in egg.
6.  Remove from heat and add biscuits, stirring until well mixed.
7.  Spoon mixture into springform pan filling all gaps and refrigerate for three hours until set.
8.  Remove pan and turn cake upside-down on cooling rack set over a parchment lined baking sheet.
9.  Melt 8 oz chocolate in double boiler.
10. Pour the melted chocolate over the cake, smoothing it on the top and sides.
11.  Let stand for one hour until set.
12.  Carefully remove cake from the cooling racks and place on serving plate.
Serves 8


The cake needed to be cut on a cutting board with a serrated knife and even still was difficult to cut without little pieces breaking off, however, it more than made up for itself with how delicious it was.


Now grab yourself a cuppa (cup of tea that is) and make some Chocolate Biscuit Cake to enjoy along with William and Kate.


Linked to Royal Wedding Party Ideas at Decor to Adore
Good Life Wednesday at A Beach Cottage
Saturday Night Spotlight at Love Where You Live

Sunday, 13 February 2011

Spring Fling Strawberry-Pineapple Cupcakes

Yesterday I made cupcakes - not just any cupcakes, though, as these ones:
  • were made to have with family and friends along with some champagne to celebrate our 30th wedding anniversary,
  • were a trial-run of the recipe that we'll be using for Malcolm and Christie's wedding in May,
  • and were used by me to practice taking food photographs.
If you recall in a previous post (here) I looked at eight ways to take better food photos.  I have never taken a picture of food that I was happy with, until now that is.  I'm not looking for perfection, just photos that make you want to try the food.  I knew I had done just that when William walked by the computer and said that my pictures made him want to go and eat a cupcake.


The cupcakes tasted fantastic and just in case you want to make some for your sweeties for Valentine's Day, I've posted the recipe. 


The recipe is from the recent Kraft Canada What's Cooking magazine.  Christie's Grandmother has used the recipe in the past and recommended it.  It's one of those recipes that is easy to make, yummy, and looks good.


The original recipe called for using an angel food cake mix, but I used a white cake mix - either way would be good. 


To make the icing you mix together:
1 pkg (4-serving size) Jell-O Vanilla instant pudding
1 can (14 fl oz/398mL) crushed pineapple in juice, undrained
1 cup thawed Cool Whip Whipped Topping

You gently stir the ingredients together and then spread it on the cooled cupcakes.  Top each cupcake with a half strawberry.


The photo-shoot of the finished cupcakes was a lot of fun.  Here's a look at my set-up.   I taped some craft paper to a chair and then changed the backgrounds in the pictures by using a couple of pieces of scrapbooking paper, a paper doily, and some different plates.  I made sure the light coming in from the window was at 10:00 as per the tips in my food photography post.  And that's as fancy as I got.


And just so you know - the cupcakes were sampled and come with our stamp of approval.


Linked to Wow Us Wednesday at Savvy Southern Style 
and Bokeh Party at Tracy's Trinkets and Treasures
and Friday Photo Challenge at Razmataz

Monday, 17 January 2011

Pineapple Upside-Down Cake


The Mr and I belong to a bridge group and every year we host six games at our house and go to other people's houses for the other six games.  When we have finished playing bridge we visit for a bit and enjoy a little bite to eat.   So at the beginning of every year I'm on the lookout for an easy delicious dessert to serve.  Recently my Mother made a fantastic pineapple upside-down cake and I asked her for the recipe to use for this year's games.  When I sat down to write this post I looked up what I served last year (having such a good memory and all) and it was - wait for it - Blueberry Upside-Down Cake (you can find the recipe here).  Does the fact that I am apparently drawn to upside-down cakes say something about my personality?  Hopefully nobody will remember what I made last year and notice that I have a theme going.


Here's the recipe in case you want to try some of the yummyness for yourself.
 
PINEAPPLE UPSIDE-DOWN CAKE

1 cup packed brown sugar
2 tbsp pineapple juice
1 can pineapple tidbits, drained reserving juices
1/3 cup soft butter
1 pkg lemon cake mix or white or yellow

1. Spray a 9”x13” pan with cooking spray.  Spread brown sugar evenly in pan and sprinkle with pineapple juice.
2. Arrange pineapple pieces on sugar mixture.  Dot with butter.  Set aside.
3. Preheat oven to 350˚
4. Prepare cake mix as directed on package (I substituted the drained pineapple juice for some of the water).  Pour batter carefully over fruit mix in pan.  Bake in 350˚oven for 60 minutes.  Cool cake in pan 10 minutes – then invert onto serving platter.  Serve warm with whipped cream.

And one last picture to get your mouth really watering.


Thursday, 30 December 2010

From Disaster to Delicious

I always make a Bûche de Noël for our Christmas Eve dinner every year.  Thankfully logs are messy things as this year things got a bit broken before they got better.

I used an orange boxed cake mix and baked it in a jelly roll pan for about 15 minutes.


I turned it onto a clean tea towel and rolled it up while warm just like Martha says to do.


However, when I unrolled it to ice the cake, it all broke apart.  It usually breaks apart a bit, but not this much.


I made a batch of chocolate icing and started slathering on the icing and basically glueing the pieces together.  I had to make more icing because of the amount needed as glue.  Eventually we had it all rolled up and the outside iced.  We ran fork tines along the icing to make it seem like bark.  Sometimes I cut a piece off one end and attach it to look like a branch, but I was afraid to do any fancy cutting with this one so it was a straight log.  Just before serving I dusted it with icing sugar which makes it seem like it has just snowed (and covers up any messy bits), added a few cranberries, and put in our plastic axe that we use every year.  

And presto - it somehow came together and looked like a log.


Have you ever made a yule log?  If you haven't tried making one you really should - it is an easy yummy dessert and it can't go too wrong as logs are messy things so your yule log can be too. 

Wednesday, 8 December 2010

Stirring up the Christmas Pudding

 
On the weekend Kate and I helped my Mother make Christmas pudding using my Grandmother's recipe.  My Grandmother, Lucy Jones, was married in 1916 in Port Coquitlam, British Columbia.  This was the Christmas pudding recipe that she always made and for all we know it could even have been passed down from her Mother. It feels like such an old-fashioned pioneer sort of recipe with the main ingredients being carrots, potatoes, currants, and beef fat - an odd combination for a dessert isn't it. 


My Mom blends the carrots and potatoes in batches in the blender with about 2 cups of water - just like the pioneers did, I'm sure.


Then she seives the blended mixture to get the liquid out and re-uses the water for each batch. The dry ingredients and raisins and currants are mixed together.  Then the blended carrot-potato mess is mixed in.  I made Kate hold the spoon out for the photo, because I was feeling all sentimental about it.  After all, the spoon was the one we had always used when I was a child to make cookies.


It is rather pretty looking with all the orange and dark pieces.


This is my Mother's collection of Christmas pudding bowls some of which belonged to my Grandmother.


 A double batch of the recipe makes one large and two small puddings.


Once the pudding is smoothed down in the bowls you cover them with foil making sure the foil is folded down under the rims of the pudding bowls so they cook properly. Then you put the bowls on the rack in the steamer with water below and steam for four hours. 


We always have our puddings for Christmas dinner.  My Mom reheats them and then serves them with the hard sauce and hot sauce listed on the recipe.  My favourite is the hard sauce, but others in the family have different opinions.  Every year my Aunt pours brandy on the pudding and lights it on fire.  It is very exciting to see her playing with fire at Christmas dinner - adds to the festive atmosphere - we all clap and cheer when she gets it alight.  I'll try and get a photo of it at Christmas time. 

Anyone else make Christmas pudding? 
Linked to Holly Bloggy Christmas Recipe Party at Simply Sweet Home

Monday, 11 October 2010

Happy Thanksgiving and a Beaver Up-date


One of the things I love about Thanksgiving dinner is the pumpkin pie.  I forgot to take a photo of the pie before dinner - I mean, really, who can concentrate on taking photos at a time like that - so this is what was left of the second pie.  There were 8 of us for dinner so we consumed a lot of pie.


Pumpkin pies can vary a lot, but this is the recipe we have made for years and is definitely tried and true (adapted from Better Homes and Gardens).

Ingredients:
3 cups (796 ml tin) pure pumpkin puree (not pumpkin pie filling)
1 1/2 cups brown sugar
2 tsp cinnamon
1 1/2 tsp ground ginger
1/2 tsp ground nutmeg
1/2 tsp ground cloves
6 eggs
2 1/2 cups skim milk
12 oz (385 ml tin) evaporated low-fat milk

Method:
1.  Blend all ingredients together 
2.  Pour into unbaked pie shells (makes 2 pies) and bake at 400F for 50 minutes 
3.  Pies are done when a knife comes out clean and when the centre is not liquid when gently shaken
4.  Let cool and serve with whipped cream

If there is any leftover filling we make pumpkin pudding, which is just as yummy as the pumpkin pie and, in actual fact, better for you since there is no fattening crust.  Apart from sugar, pumpkin pudding is chock full of good things like milk, eggs, and beta-carotene laden pumpkin.


My mom put together a centerpiece for Thanksgiving weekend with mini gourds on two mats she made a few years ago using pine needles and rushes.  


I'm sure you are all waiting with baited breath for an up-date on the beaver situation.  On Saturday, I was helping my mother get dinner ready and she said I had better get my camera as the beaver always come by at this time of night.  Apparently, every evening at 6:40-6:45 they swim from their lodge in the marsh to the south of our cottage to the bay just north of us.  I grabbed my camera and just as I stepped outside there they were.   

Here is Beaver #1


Then I noticed Beaver #2


Yep, the cheeky little chap was sitting on our rocks (the blue in the foreground is our canoe) chewing on sticks.  Here's a close-up (although the photo isn't the best with the low light conditions).


And finally after a few minutes, Beaver #3 swam by:


I'm not sure why 3 beavers are living together, but far be it from me to ask.  Couldn't you almost hear them singing - Heigh Ho!  Heigh Ho! It's off to work we go!

Happy Thanksgiving to all the Canadian readers.  Did you all enjoy a big turkey dinner? 

*****************************************
Just a reminder to put your name in for my giveaway to win two Anthropologie mugs.  See details here.


Tuesday, 5 October 2010

Apple Cake, Confiture de Lait, and Sap Boats

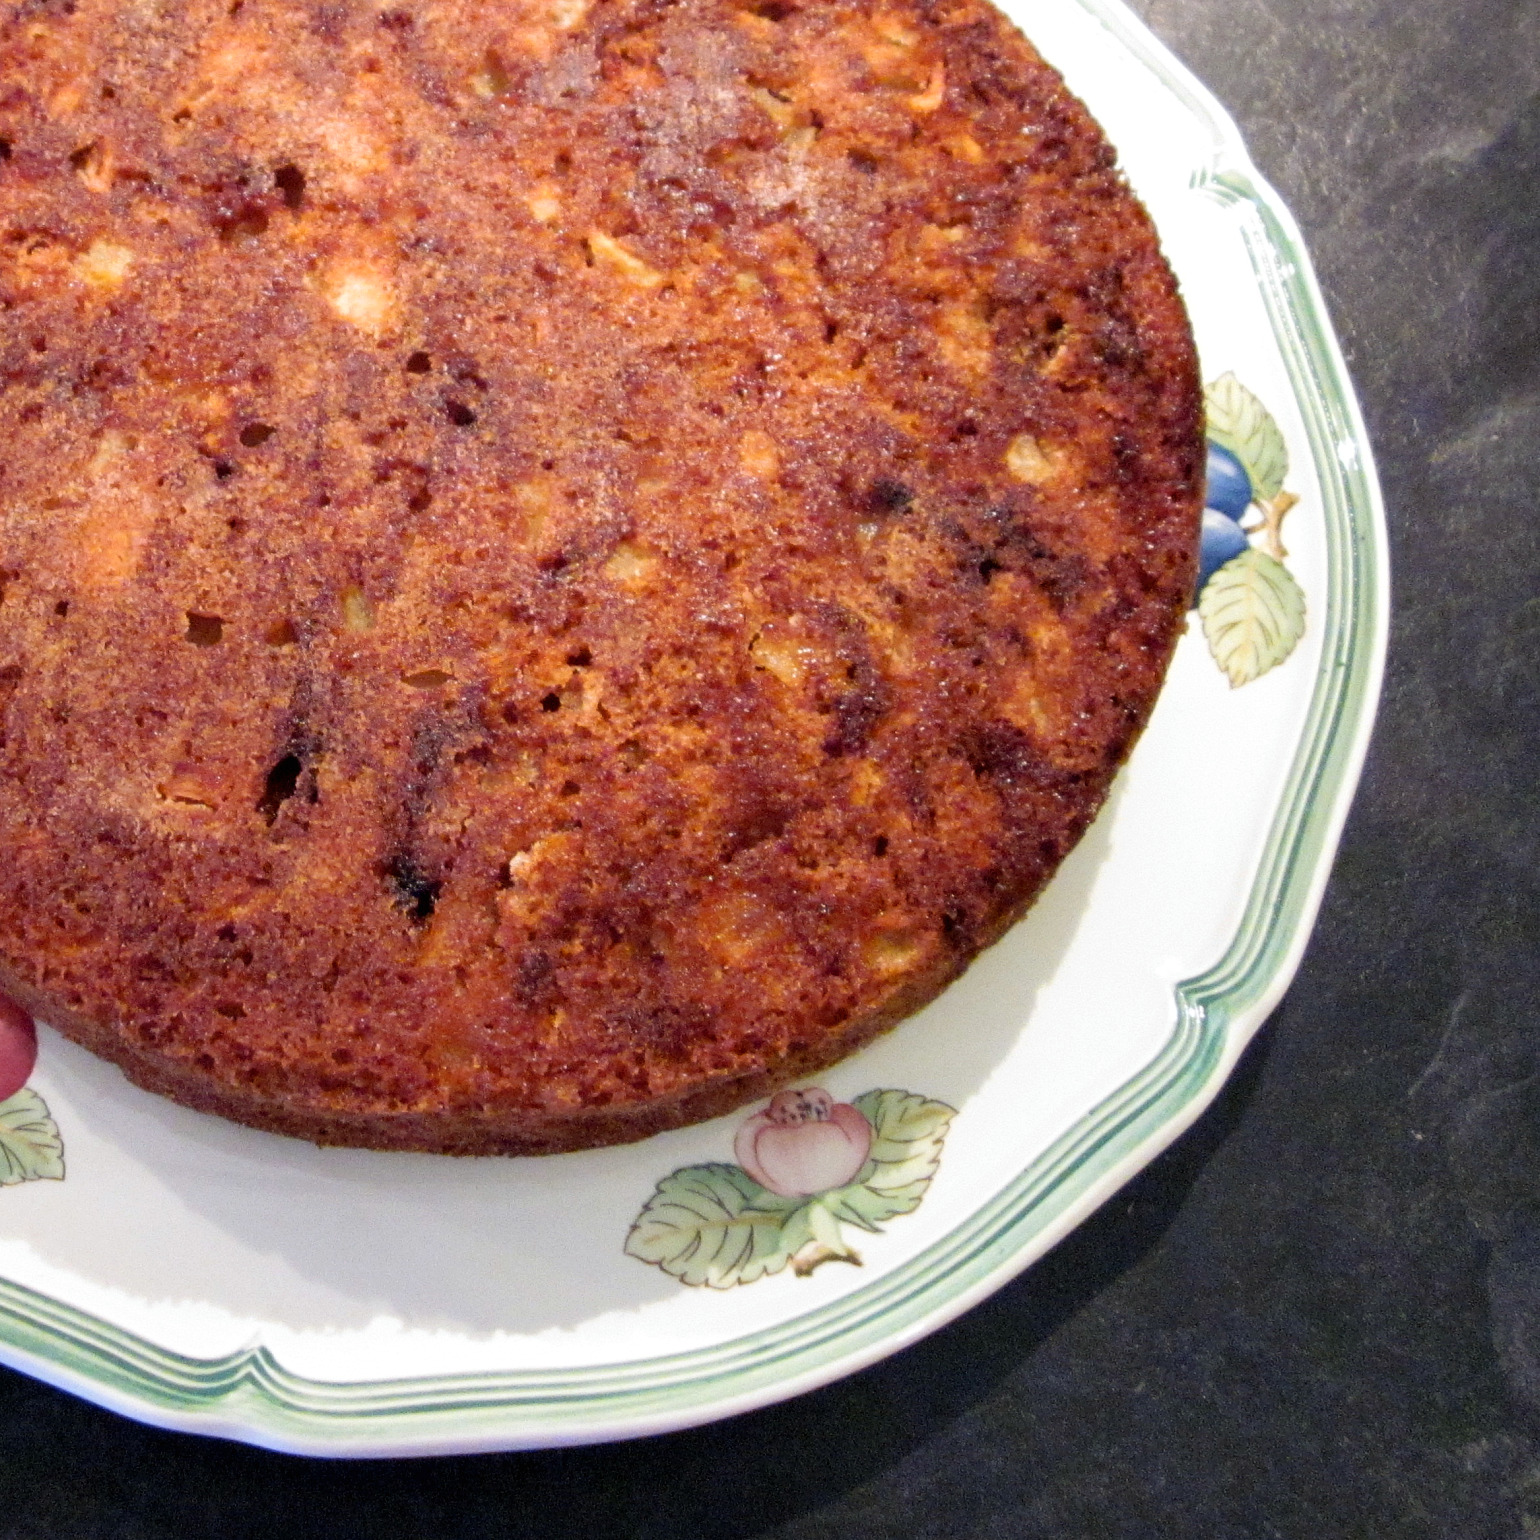
I recently was given a bag of apples from a friend's tree that hadn't been sprayed and tended, which meant I needed to find a recipe to cook an apple dessert.  Yesterday, I stumbled upon this One Bowl Apple Cake recipe on the blog maya*made, that looked perfect.  It was so easy and so delicious that I highly recommend the recipe.

This is the cake in all its yumminess after I took it out of the oven,


but the recipe says to make it even yummier by sprinkling icing sugar on top before serving.  Who am I to not follow directions?


We served it with confiture de lait given to us by our French visitors this summer.  I absolutely fell in love the with the jar and the brown gingham lid.   Confiture de lait is a very thick, sweet, carmalized sauce that is, apparently, a lot like the South American dessert dulce de leche.  We drizzled it on the cake and vanilla ice cream and it was delicious.  Confiture de lait is a speciality of Normandy which is where our guests are from.  We weren't really sure if that is how you are to eat it, but it tasted fantastic with the apple cake. 


I just had to add this little tidbit of fun.  Yesterday we went to a nearby park that has a pond and my daughter suggested we make sap boats.  You take a small twig and stick one end in sap from an evergreen tree.  Then when you drop it into water, the sap dissolves and pushes the stick along.  It was truly amazing to see the stick wiggling around in the water.  That's just how exciting we are around here.


Related Posts Plugin for WordPress, Blogger...